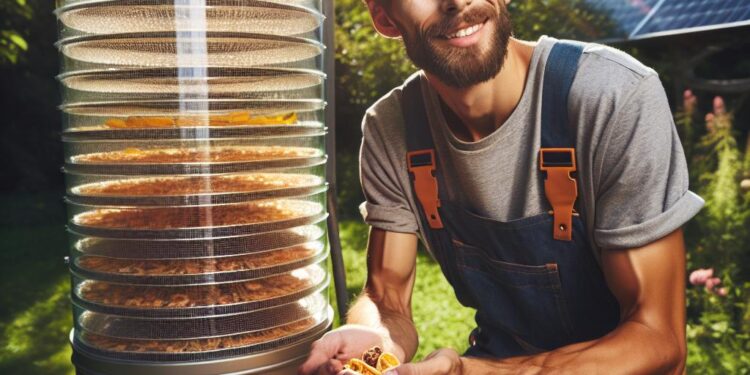
Building a solar dehydrator from recycled parts is a fantastic skill for anyone keen on survival or preparedness. In emergencies or off-grid scenarios, having the ability to preserve food without electricity can be a game-changer. It’s not just about having the right materials but understanding the principles behind solar drying that makes all the difference. Many folks overlook important details like proper airflow and sun orientation, leading to less effective dehydrators. Don’t worry; we’ve got you covered! This blog will provide practical advice and solutions, making the process straightforward and achievable. Let’s dive in and ensure you’re ready for anything life throws your way.
How to Build a Solar Dehydrator from Recycled Parts?
Building a solar dehydrator from recycled parts is like turning old stuff into something incredibly useful. Imagine you’re just setting out for off-grid living, or maybe prepping for emergencies; a solar dehydrator could be your trusty sidekick. It uses the sun’s warmth to dry and preserve food, making it vital when you’re miles away from a supermarket. Just picture this: an old window frame, some metal sheeting, and an old bike tire, all transformed into a gadget that can keep your fruits and veggies fresh for months. Ever thought of sun-dried tomatoes right from your backyard or preserving mushrooms you foraged in the woods? That’s the magic of a well-built solar dehydrator. Plus, it’s eco-friendly. By repurposing materials, you’re not just saving costs; you’re also giving a nod to the planet. It’s a smart, rugged hack for anyone keen on survival or emergency prep.Survival Benefits of Recycled Solar Dehydrators
Building a solar dehydrator from recycled parts isn’t just an eco-friendly project; it has several practical advantages for survivalists and outdoor enthusiasts. Here’s how it can improve your readiness and enhance your experience:- Cost-Effective Preparation: By creating a solar dehydrator from recycled materials, you save money and make use of items that might otherwise go to waste. It’s a budget-friendly way to get essential survival gear.
- Long-Term Food Storage: Dehydrating food extends its shelf life without the need for preservatives or refrigeration. It helps ensure you have nutritious options ready in an emergency.
- Compact and Lightweight: Dried foods are easier to pack and carry, reducing the weight and bulk of your gear on camping trips or during emergencies. This means you can travel lighter and more efficiently.
- Eco-Friendly Practices: Using recycled parts promotes sustainability. It reduces waste and encourages a greener lifestyle. Over time, these small steps make a big difference for the environment.
- Self-Sufficiency: By understanding how to build and use a solar dehydrator, you reduce your reliance on modern conveniences. It’s a step toward self-sufficiency and independence.
- Healthier Food Options: Dehydrating allows you to preserve nutritious food without chemicals or additives, giving you healthier food choices during wilderness excursions or emergency situations.
- Skill Development: Constructing and using a solar dehydrator hones your DIY skills, enhancing your overall survival proficiency and boosting your confidence in nature.
Making a Solar Dehydrator Part of Everyday Life
- Start small by incorporating local, seasonal fruits and veggies. Dry them using the solar dehydrator for snacks, mixing them into meals or storing them for future use. This works well whether you’re in the city or the countryside.
- For those in urban areas with limited space, transform balconies or rooftops into drying spots. It’s a clever way to make use of what you have without needing a lot of land.
- In rural areas, expand your food preservation by drying larger quantities. Stockpile these for unexpected events or just cut down on food waste.
- Integrate the dehydrator into your emergency prep. Having a stash of dehydrated foods means you’re always ready, making them a staple in your survival plan.
- Teach family or community members how to build and use the dehydrator. Sharing this knowledge can empower others, creating a supportive survival network.
DIY & Guided Use: Solar Dehydrator from Recycled Parts
- Start with a sturdy frame: Look for old wood pallets or reclaimed timber to form the base structure of your solar dehydrator. These can usually be found at local hardware stores or even discarded by businesses.
- Find old windows or clear plastic: These materials are perfect for the dehydrator’s cover, allowing sunlight to penetrate while keeping insects out. Ensure they’re clean and free from cracks.
- Utilise recycled metal sheets: Use them for lining the insides to better capture and retain heat. An old baking tray or unused roofing material will do the trick.
- Sourcing expertise: For those without a knack for DIY, or if you’re a camper needing a quick fix, enrolling in a survival course or investing in professional gear might save time and ensure reliability.
Affordable and Quick Solar Dehydrator Build
Looking to build a solar dehydrator without breaking the bank? Check out this cost and time commitment guide below.| Aspect | Cost | Time/Effort |
|---|---|---|
| Materials | Low (using recycled parts) | Medium (gathering and cleaning materials) |
| Tools | Low-Moderate (if not already owned) | Low (basic tools like a hammer and screwdriver) |
| Learning | No monetary cost (via online or library resources) | Medium (watching tutorials and reading guides) |
| Building | No monetary cost | High (assembling, measuring, and adjusting) |
| Usage | Low (maintenance) | Low (monitoring and adjusting for sunlight) |


